Owning a generator gives you peace of mind during power outages, but only if it actually works when you need it. Many generator owners forget about their equipment until an emergency happens, which can lead to frustrating breakdowns at the worst possible times.
Regular maintenance is the key to keeping your generator ready for action. The tips in this article will help anyone keep their generator in top shape, regardless of technical experience.
Why Regular Generator Maintenance Matters?
Taking care of your generator helps you avoid unexpected problems and extends how long your equipment will last.
Preventing Costly Breakdowns
When generators fail unexpectedly, the repair costs can be shocking. A neglected generator might need complete replacement of key components. These repairs often cost thousands of dollars—much more than regular maintenance visits would have. Regular maintenance helps catch small issues before they become major problems.
Extending Generator Lifespan
A well-maintained generator can last significantly longer than one that receives irregular care. Regular checks, lubrication, and replacement of worn parts help prevent premature wear and extend your generator’s useful life.
Ensuring Reliable Power Supply
When emergencies strike, you need power you can count on. Regular maintenance ensures your generator is ready to go when needed most, providing peace of mind during outages.
A well-tuned generator uses less fuel while producing the same amount of power, saving money during extended use periods.
Getting Started: Safety Tips & Preparation
Before you start maintaining your generator, it’s crucial to understand basic safety practices and gather the right tools. Proper preparation ensures both your safety and the longevity of your equipment.
Basic Safety Precautions
Generators can be dangerous if handled improperly. Always place your generator at least 20 feet away from your house with the exhaust pointed away from windows and doors to prevent carbon monoxide poisoning.
Never operate a generator in wet conditions. To avoid electrocution, keep the generator dry and run it on a dry surface under a canopy-like structure such as a tarp held up on poles.
Turn off the generator and let it cool before refueling. Don’t store fuel inside your home – keep gasoline, propane, and other flammable liquids in proper containers outdoors.
Always wear protective gear when working with generators:
- Gloves (to prevent burns and electrical shocks)
- Safety glasses
- Ear protection (generators are loud!)
- Closed-toe shoes
Tools and Supplies You’ll Need
Having the right tools on hand makes generator maintenance much easier. Here’s what you’ll need to keep handy:
Basic Tools:
- Socket and wrench set
- Screwdrivers (flathead and Phillips)
- Pliers and wire cutters
- Multimeter for electrical testing
- Funnel for adding oil and fuel
Maintenance Supplies:
- Engine oil (check manual for correct type)
- Oil filter
- Air filter
- Spark plug(s)
- Fuel stabilizer
- Clean rags
- Spark plug socket wrench
Store these items in a dedicated toolbox near your generator storage area. This organization helps ensure nothing gets misplaced between maintenance sessions.
Reading the Manufacturer’s Manual
The manufacturer’s manual is your most valuable resource for generator maintenance. Each generator model has specific requirements that must be followed.
The manual contains critical information about:
- Oil type and capacity
- Recommended maintenance schedule
- Starting and shutdown procedures
- Troubleshooting guides
- Part numbers for replacement items
Make a copy of important pages in case the original gets damaged. Many manufacturers offer digital versions of manuals on their websites that you can download as backups.
Highlight the maintenance schedule section for quick reference. This typically includes when to change oil, replace filters, and perform other routine tasks based on running hours or time periods.
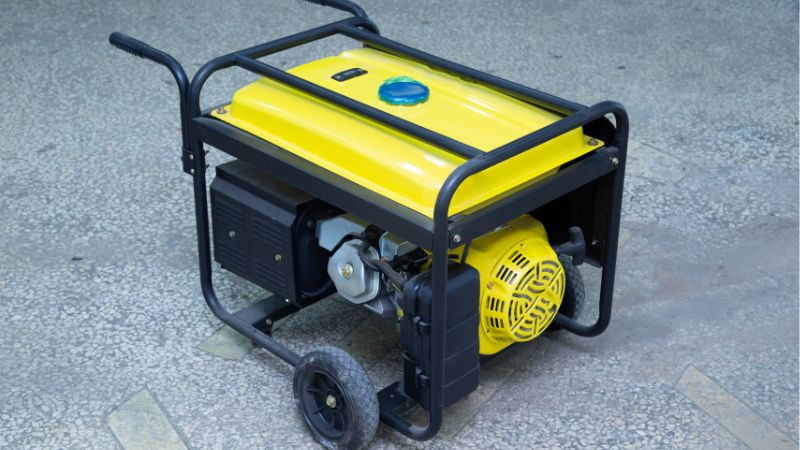
Tips for Maintaining a Generator
Change Your Engine Oil
Regular oil changes are crucial for keeping your generator running smoothly. Fresh oil helps prevent engine damage and extends your generator’s life.
- Most portable generators need an oil change every 100-200 hours of use.
- For new generators, it’s best to change the oil after the first 20-30 hours of operation.
This initial change removes any metal particles that may have come loose during the break-in period.
If the generator sits unused for long periods, change the oil at least once a year regardless of hours run. Operating in dusty or dirty conditions means more frequent changes are needed.
Inspect Your Spark Plugs
Spark plugs play a crucial role in generator function by creating the ignition needed for fuel combustion. Regular inspection and proper replacement ensures your generator starts easily and runs efficiently.
Worn spark plugs often cause hard starting, rough running, or complete failure of your generator. Look for these common signs of wear:
- Fouled electrodes – Black, sooty deposits indicate incomplete fuel burning
- Worn electrodes – Rounded or eroded center electrodes reduce spark efficiency
- Cracked porcelain – Any cracks mean immediate replacement is needed
- Excessive carbon buildup – Heavy black deposits prevent proper firing
To inspect your spark plug, first clean the area around it to prevent debris from falling into the engine. Remove the spark plug with a proper spark plug socket and check the gap between electrodes using a feeler gauge.
If you notice oil deposits or unusual coloring, this could indicate other engine problems beyond just the spark plug itself.
Checking Fuel Quality
Fuel quality degrades over time, especially with ethanol-based fuels that attract water. You should inspect your generator’s fuel at least once a month. Look for signs of separation, cloudiness, or a sour smell that indicates the fuel has gone bad.
For generators that aren’t used often, consider using fuel stabilizers. These additives help fuel stay fresh longer – up to 12-24 months depending on the product.
It’s smart to take fuel samples from the bottom of the tank annually to check for water or contamination. This is where problems often start, so catching them early can save you headaches later.
After each use, it’s recommended to change the gas and store it safely. If you won’t be using the generator for more than 30 days, drain the fuel tank completely.
Test and Replace Your Battery
The heart of your generator’s electric start system is its battery. Regular maintenance ensures it’s ready when you need power most, while proper testing helps prevent unexpected failures.
Inspecting Battery Connections
Always check your generator’s battery connections at least every three months.
- Turn off the generator completely before inspecting anything.
- Look for white, blue, or green corrosion on the terminals – this powdery substance prevents good electrical contact.
- Make sure all connections are tight and secure. Loose connections can prevent your generator from starting when needed.
- Inspect the battery casing for cracks, bulges, or leaks. Any physical damage means it’s time for a replacement.
- Keep the battery’s exterior clean by wiping it with a damp cloth. Dirt can create electrical pathways that drain your battery over time.
Charging and Replacing the Battery
Most experts recommend testing your generator monthly by running it for at least 30 minutes. This helps recharge the battery naturally during operation.
For generators used infrequently, consider using a battery maintainer or trickle charger. These devices provide a slow, steady charge that keeps the battery ready without overcharging it.
Check the Cooling System
Your generator’s cooling system prevents overheating and extends equipment life. Regular checks help avoid costly breakdowns and ensure your generator is ready when you need it most.
Check the coolant level in your generator at least monthly. The fluid should reach the “full” line on the reservoir when the engine is cool. Look for any unusual coloring or debris in the coolant.
Regularly inspect the radiator fins for dirt, leaves, or debris that might block airflow. Clean them gently with compressed air or a soft brush working from the inside out.
Examine all hoses and connections for signs of wear, cracks, or leaks. Squeeze the hoses when cool – they should feel firm but flexible, not hard or mushy.
Unlike car cooling systems, generator cooling systems remain under constant heat and pressure even with limited use. This makes regular inspection even more important.
Clean Your Air Filters
Finding your generator’s air filter is the first step in maintenance. For most closed-frame inverter generators, the air filter is located near the carburetor and requires removing an access panel to reach it.
Most manufacturers recommend replacing air filters every 100-200 operating hours, but this varies by model.
Signs that indicate it’s time for a new filter include:
- Visible damage (tears, holes, or crumbling edges)
- Discoloration that doesn’t improve with cleaning
- Reduced generator performance despite a clean filter
- Engine starting problems or unusual sounds
Generators often need more frequent filter changes than vehicles because they typically operate in dustier environments. During emergency use or in very dirty conditions, check filters daily.
Adjust the Transfer Switch
The transfer switch is a crucial component that connects your generator to your home’s electrical system. Regular inspection and testing ensure it functions correctly when power outages occur.
First, make sure all connections are tight and free from corrosion. Check all terminals and connectors for their normal color and look for any signs of overheating or damage.
Look carefully at the wiring and insulation. Frayed wires or damaged insulation can cause serious problems during operation.
Scan the entire transfer switch for parts that appear loose or aren’t functioning properly. Sometimes vibration from the generator can loosen critical components over time.
After completing these checks, ensure all covers are securely fastened. This keeps dust and debris out, which helps prevent malfunctions.
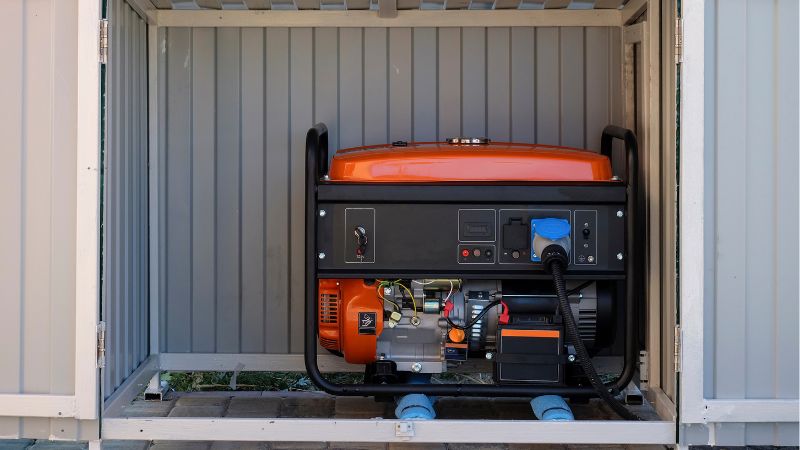
Store It Correctly
Store your generator in a dry, cool, and well-ventilated location away from living areas. Moisture is the enemy of generators, causing rust and electrical problems.
For seasonal storage, consider these steps:
- Add fuel stabilizer to the tank if storing with fuel
- Run the generator for 10-15 minutes to circulate the stabilizer
- For long-term storage, drain the fuel tank and carburetor bowl completely
- Place a few drops of oil in the spark plug hole to protect the cylinder
Cover the generator with a breathable cover that prevents dust while allowing moisture to escape. This prevents condensation buildup that leads to rust.
Schedule Professional Maintenance
While regular DIY checks are important, scheduling professional maintenance is crucial for keeping your generator in top shape. Experts recommend having a professional technician inspect your generator at least once or twice a year.
Professional technicians have the specialized knowledge and tools needed to identify problems that might not be obvious during your own inspections. They can spot early warning signs before they become major issues.
Recommended Professional Maintenance Schedule:
- Small portable generators: Once yearly
- Standby home generators: Twice yearly
- Commercial generators: Quarterly
Keep Maintenance Records
Good maintenance records are crucial for the long-term reliability of your generator. They help track what’s been done and when, making future maintenance easier to plan.
Create detailed maintenance logs that include dates, services performed, and parts replaced. These records become valuable reference tools when troubleshooting issues later on.
What to include in your maintenance records:
- Date and time of service
- Hours of operation since last maintenance
- Services performed (oil changes, filter replacements, etc.)
- Parts used and their serial numbers
- Notes about any unusual conditions found
- Name of person performing the maintenance
Review your records regularly to spot patterns that might indicate developing problems.
Conclusion
Proper generator care means it will be ready when storms hit or power fails. A well-maintained generator provides peace of mind and protection for your home and family. With these maintenance habits in place, your generator will provide reliable backup power for years to come.